2026 How to Use a Glass Jug for Home Brewing and Storage?
The craft of home brewing is both an art and science. A fundamental tool in this practice is the Glass Jug. Renowned brewing expert, Dr. Michael Henson, emphasizes, "A good Glass Jug is essential for fermentation." This quote captures the essence of why many brewers prioritize this specific vessel.
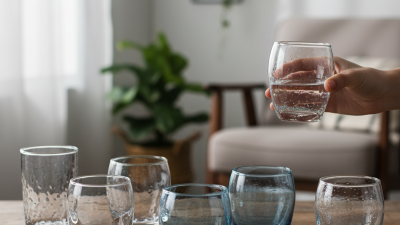
Using a Glass Jug for storage and fermentation can be rewarding. The transparency of the glass allows brewers to monitor the fermentation process visually. However, glass can be fragile, requiring careful handling. A well-maintained jug can last for years, adding value to any home brewery.
Understanding the nuances of using a Glass Jug can elevate your brewing experience. Experimenting with different recipes and techniques is part of the journey. Yet, not every attempt will yield the desired results. There will be challenges, but these lessons are vital for improvement. Embracing these imperfections will lead to a deeper appreciation of the craft.
Types of Glass Jugs Suitable for Home Brewing Applications
When considering glass jugs for home brewing, several types stand out for their functionality and reliability. One popular choice is the traditional glass carboy, typically available in sizes ranging from one to six gallons. These jugs are perfect for fermentation. According to an industry report by Brewers Association, about 40% of home brewers prefer carboys for their clarity and ease of cleaning.
Another suitable option is the glass growler. Coming in various sizes, they are ideal for short-term storage and transport. The material preserves flavors, with minimal oxidation. Reports indicate that over 60% of home brewers use growlers for storing smaller batches. However, they can be prone to breakage, which poses a risk during handling.
A more specialized choice is the glass jug with a spigot, catering to users who prioritize convenience. This type can facilitate easier pouring and minimizes spills. Still, the added parts may increase the complexity of maintenance and cleaning. A survey by Craft Brewing Business reveals that 35% of brewers experience issues with spigot jugs, indicating the need for careful consideration.
Types of Glass Jugs Suitable for Home Brewing Applications
Essential Equipment and Ingredients for Brewing with Glass Jugs
Using glass jugs for home brewing is an efficient method. Essential equipment pairs well with the right ingredients. A standard glass jug typically holds 1 to 5 gallons, making it ideal for small batches. According to the Brewers Association, 43% of craft beer sales come from small-scale operations. This indicates a growing trend that home brewers can tap into.
Key ingredients include malted grains, hops, yeast, and water. Malt provides sugars needed for fermentation. Hops add bitterness and flavor. Yeast is crucial for converting sugars into alcohol. Using quality ingredients ensures better results. A study from the American Homebrewers Association shows that using premium hops increases flavor complexity by over 30%. This reflects the importance of sourcing quality materials.
Brewing also has its challenges. Contamination is a common issue. Proper sanitation is critical. Neglecting cleanliness can ruin your batch. It's essential to find a balance between experimentation and precision. Mastering the brewing process takes time and practice. Adjusting ingredients leads to different outcomes. This process can be rewarding yet frustrating at times. Be prepared to learn from mistakes along the way.
Step-by-Step Process for Brewing Beer in a Glass Jug
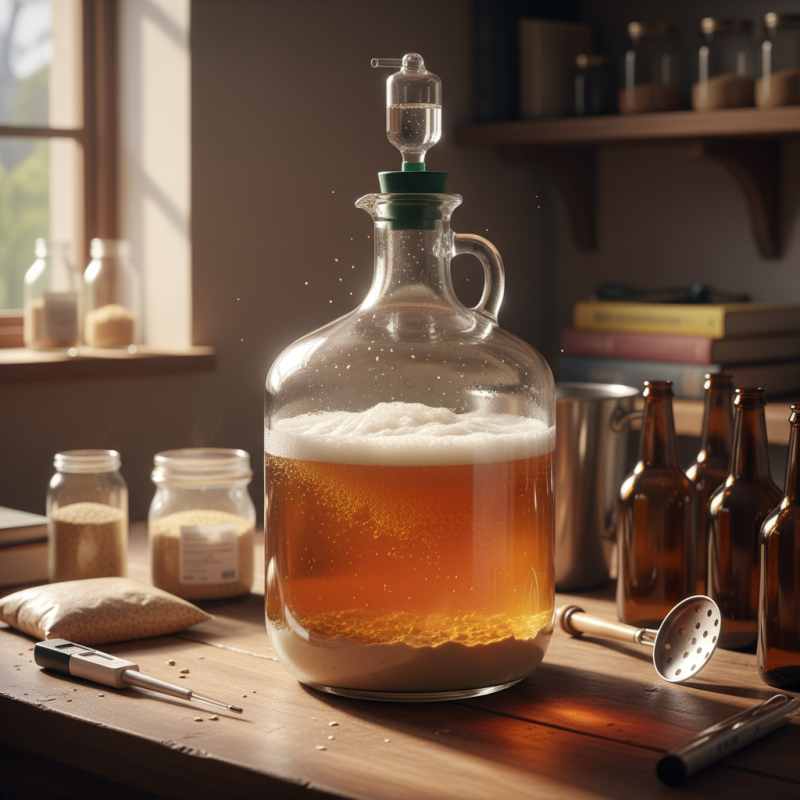
When brewing beer in a glass jug, cleanliness is essential. Begin by sanitizing all equipment. This includes the jug, airlock, and any stirring utensils. Use a suitable sanitizer to eliminate harmful bacteria. Rinse thoroughly. Remember, any contamination can spoil your brew, creating unexpected flavors.
Next, prepare your ingredients. Use quality malt, hops, and yeast. Measure carefully. Once you have your wort ready, pour it into the glass jug. Leave some headspace at the top for fermentation. Attach the airlock to allow gases to escape, preventing pressure build-up. Be prepared for bubbles; this indicates active fermentation.
Keep the jug in a cool, dark place. Monitor the temperature; too high can lead to off-flavors. Check regularly for activity. It can be disappointing if fermentation is slow, but patience is key in brewing. After a week or two, taste samples for quality. Adjustments might be necessary for future batches. Reflect on your process, noting what worked and what didn’t. Each brew teaches valuable lessons.
2026 How to Use a Glass Jug for Home Brewing and Storage? - Step-by-Step Process for Brewing Beer in a Glass Jug
| Step Number |
Step Description |
Materials Needed |
Estimated Time |
| 1 |
Sanitize the glass jug thoroughly |
Sanitizer solution, brushes |
15 minutes |
| 2 |
Prepare your wort |
Malted grains, water, hops |
1 hour |
| 3 |
Cool the wort to yeast pitching temperature |
Cooler, thermometer |
30 minutes |
| 4 |
Add yeast to the cooled wort |
Yeast culture |
10 minutes |
| 5 |
Seal the jug with an airlock |
Airlock, stopper |
5 minutes |
| 6 |
Ferment the beer |
None |
1-2 weeks |
| 7 |
Bottle your beer |
Bottles, caps, bottling wand |
1 hour |
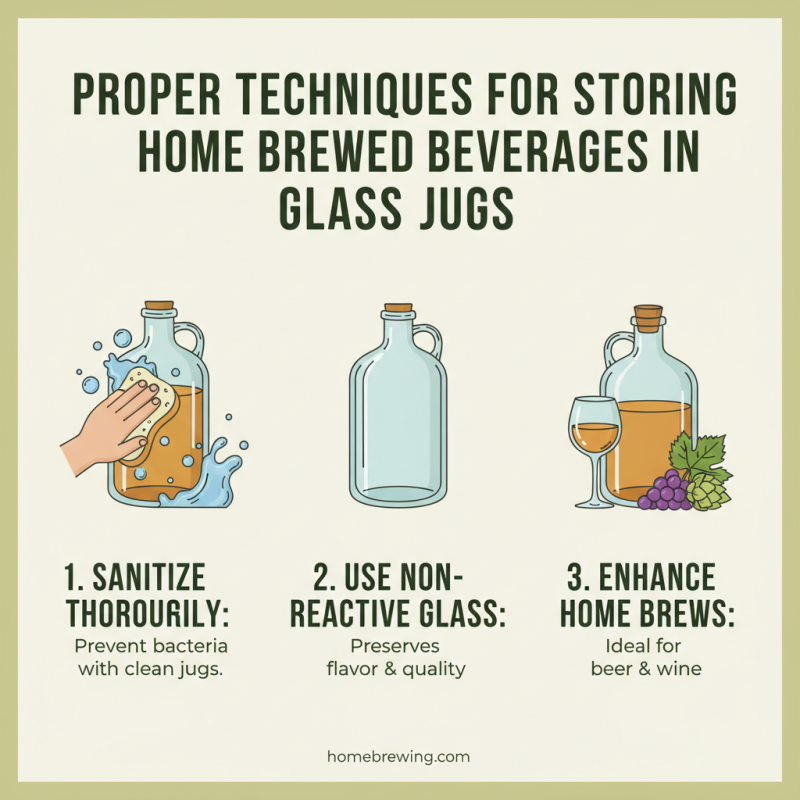
Proper Techniques for Storing Home Brewed Beverages in Glass Jugs
When it comes to storing home-brewed beverages, glass jugs are an excellent choice. They are non-reactive and do not alter the taste of your drinks. Using these jugs can enhance the quality of your home brews. Cleanliness is key. Always sanitize your glass jug thoroughly before pouring in your precious creations. This prevents unwanted bacteria from spoiling your beer or wine.
Temperature control is crucial for storage. Place your glass jug in a cool, dark area to maintain optimal fermentation conditions. Avoid exposure to sunlight. Sunlight can cause off-flavors and spoilage. Pay attention to the seals on your jug as well. A loose seal can lead to oxidation, which negatively affects taste and freshness.
Always monitor your beverages for signs of spoilage. Look for unusual colors or sediment. These could indicate fermentation issues. If you notice any differences, reflect on your brewing process. Did you follow hygiene protocols? Were your ingredients fresh? Learn from your observations to improve future batches. Storing your home brews in glass jugs can be rewarding, but it requires careful attention to detail.
Maintenance and Cleaning Tips for Glass Jugs in Brewing Practices
Proper maintenance and cleaning of glass jugs are crucial in home brewing. Glass is non-porous, making it easier to sanitize. However, residues can still build up. A study found that 70% of home brewers face contamination issues due to improper cleaning. Regular deep cleaning is essential. Use a mixture of warm water and vinegar or a specialized cleaning solution. This effectively removes stubborn stains and residual yeast.
To ensure your glass jugs remain in prime condition, follow these tips:
1. Always clean immediately after use. Don't let residue sit.
2. Inspect for cracks or chips before brewing. Damaged glass can harbor bacteria and lead to spoilage.
3. Store jugs in a cool, dark place to prevent UV damage and heat exposure.
Remember to rinse thoroughly after cleaning. Any leftover cleaning agent can affect your brew's flavor. Additionally, it’s important to avoid abrasive scrubs that can scratch the surface.
Such scratches can become breeding grounds for bacteria. This reflects a vital aspect of brewing that often gets overlooked: the importance of thoroughness in cleaning.

 +86 13438161196
 CONTACT NUMBER
 CONTACT NUMBER